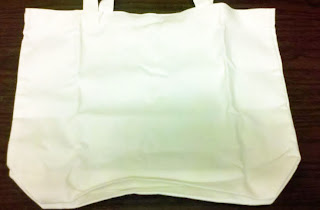
- 1 plain canvas tote bag(I found mine at JoAnn's for $4)
- Black fabric or arylic paint
- Small/medium sized paint brush
- Cut out Chanel design
- A pencil
- Various colors/lengths of chains
- Grommet tool and kit
- 1 yard of ribbon/fabric of your choice
- A small assortment of coordinating buttons or brooches
- Needle and thread
Lay your tote bag flat. (I would also suggest ironing it before you start! I obviously didn't...oops!)
Step 2:
Outline the Chanel design on your tote. I placed a single one in the center, but feel free to have some fun with it in placement and number!
Step 3:
Once you have your design(s) outlined and are happy with the overall look take your paint, and begin to paint the inside of the design. (If you purchased acrylic, make sure to mix it with a little water.)
TIP: You might need to put a few coats of paint on the design. Let each coat dry for a few hours before doing so.
Step 4:
Gather your chains and measure them out.
Step 5:
Determine how and where you would like your chains to be placed. I decided to have mine hang from the top of each corner. I just sewed the chain to the bag, but you can attach it to the bag any way you like. I copied this chain detail on the other side of the bag as well.
Step 6:
Gather your assortment of buttons, and again determine where they will be placed. I created a small cluster in the upper left-hand corner.
Step 7:
We're almost done! Next, take your grommet tool and kit to create the placement for your straps. After that, measure out your straps and decide how you want to attach them through your grommet holes. I decided to use a thin, black ribbon and tie it in a medium-sized bow on the opposite corner outside to add more girly flair.
Your bag is now finished!
My finished result:
What I really love about this bag is that you can use it all year round and change out the buttons and straps anytime you want! I ended up purchasing most of the items on sale, and was able to complete the bag for under $50! It is completely customizable, and will always be a classy go-to accessory.


No comments:
Post a Comment